Garlic: How to Plant, Grow, Cure, and Store
Article by:
Amazing Discoveries™ |
5 min read
No home garden is complete without a row or two (or more!) of garlic. But what’s the secret to growing big, beautiful bulbs that store well? When should garlic be planted? What’s the difference between hardneck and softneck varieties? Keep reading to find out!
Hardneck, softneck
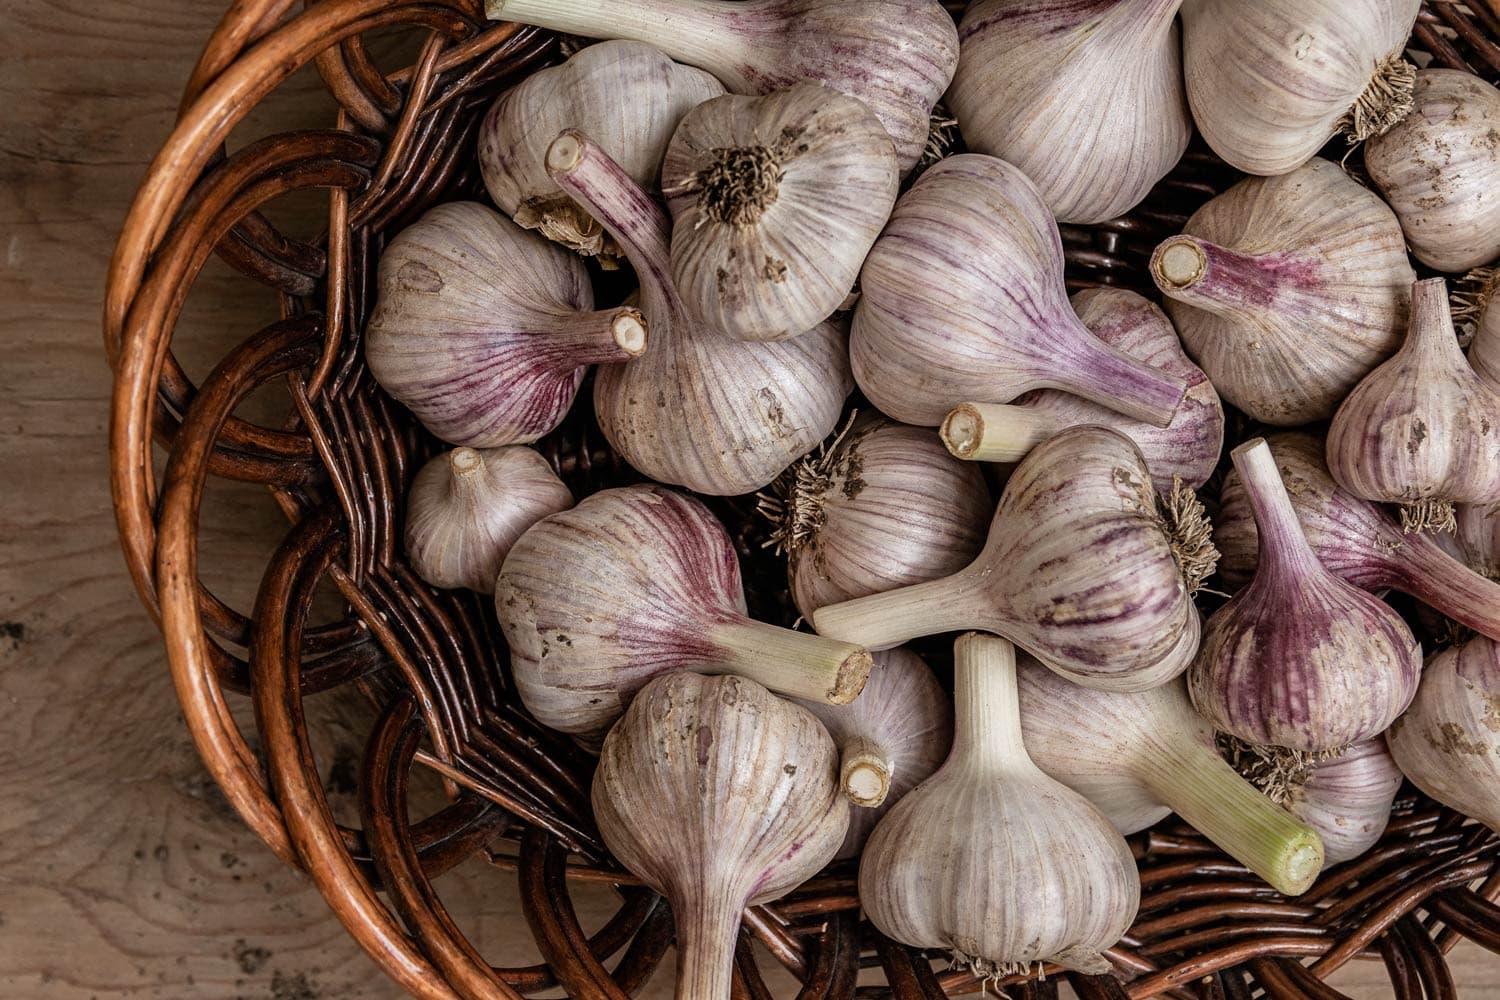
Hardneck garlic has a hard, thick stalk in the center of the head, with the cloves encircling the root end of the stock. Hardneck varieties are more cold hardy than softnecks but they don’t store as well and begin to deteriorate after four to six months. Hardneck garlics are easier to handle and peel because although each head has fewer cloves, individual cloves are larger. Hardnecks can be more pungent and flavorful than softnecks, also.

Pictured: hardneck garlic variety "Russian Red".
The garlic sold in supermarkets is usually the softneck type. Softneck varieties are usually more mildly flavored than hardnecks. Heads typically produce a large number of small cloves. Softneck varieties do better in milder climates and can be kept in storage for up to a year. Softneck garlics can be planted very early in the spring, but fall-planting is more likely to produce larger yields.
When to plant
Garlic should be planted in the fall before the ground freezes, but not too early or it will start growing, using up energy needed for spring growth. Plant two to three weeks before your first hard frost. Winter’s freezing temperatures stimulate the plant to divide into cloves and garlic needs a 30-day period of temperatures that fall below 10 degrees C 50 degrees F (10 degrees C) at night to produce well-formed bulbs.
Select the nicest cloves for planting. Large cloves are more likely to produce big, full heads with large cloves.
Preparing the soil
Work the soil well and deeply. Hard soil with lots of clay or rocks makes it difficult to for garlic to form good bulbs. Garlic is a fairly heavy feeder and can benefit from added nutrients. Sprinkle alfalfa pellets and work it into the soil before setting your garlic bulbs to feed the plants when they begin growing very early in spring.
Preparing the cloves
To plant garlic, break the head apart into individual cloves. The roots are held back from growing until the cloves are separated, but once separated, the roots get the signal that it’s time to start growing. If you break up the heads a few days before planting, the roots will begin to develop, giving the plant a head start to set roots before the ground freezes.
Spacing
Give your garlic room to grow by spacing the bulbs 4 to 6 inches (10 to 15 cm) apart when planting. This will allow each plant to get adequate sunlight, water, and nutrients which are essential for producing firm, good sized heads.
Using a thick dowel or stick, make a hole about 3 or 4 inches (8 to 10 cm) deep so that when the bulb is set into it, the tip is 1 to 2 inches (2 to 5 cm) below the surface.
Grasp the bulb near the root end, with the growing tip pointing toward your palm. Firmly press the root end down into the soil so that it makes contact with the soil or it will dry up and not grow.
To conserve soil moisture and protect the bulbs from extreme cold over winter, you can mulch with hay, straw, dried leaves, or other suitable mulch. Snow is also a good insulator and will protect garlic bulbs from the cold.
Garlic needs sufficient moisture, so you’ll want to water it in the spring and throughout the growing season, especially if it’s a dry year.
Scapes
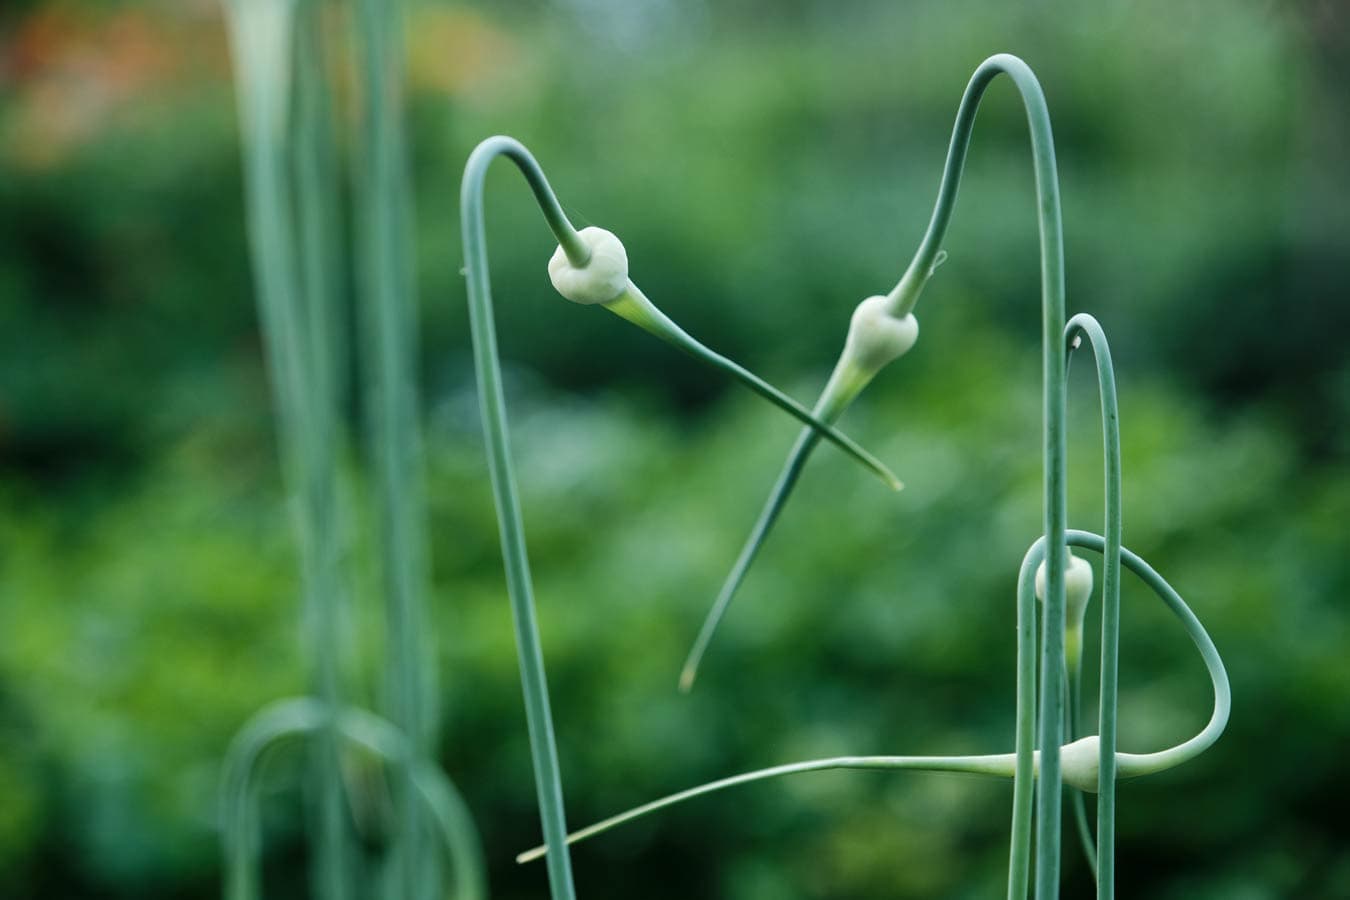
The flowering stalk of hardneck garlic is called a scape. To prevent the plant from sending energy into developing the flower and tiny bulbils, remove the scapes when they emerge. Compost them or save them for eating.

Harvest
Garlic should be harvested mid- to late-summer. Plants stop growing and start to die off in hot weather and then garlic needs to be harvested quickly or it will start to deteriorate in the ground. Once the leaves start yellowing, dig the plants and cure them by laying them out or hanging them in a warm, dry, shady place. Don’t wash them first, just brush off any damp, clinging soil.
Curing garlic requires good ventilation to dry and harden the peel for maximum storage time. Garlic should be cured until the roots and leaves are completely dried, which usually takes 2 to 4 weeks.
Once cured, trim back the roots and cut the stalk to just above the tips of the cloves. You can peel off the dirty outer wrapper but try to leave at least 3 wrapper layers on the head as this will improve long-term storage. Light and moisture are garlic’s enemies so store garlic in a well-ventilated, cool, dark, dry place.
To see how it’s done, watch this episode of How to Country, Garlic Growing: The Ultimate Guide.
Related Articles
These statements have not been evaluated by the Food and Drug Administration or Health Canada. Our articles, videos and products are not intended to diagnose, treat, cure, or prevent any disease. If you are pregnant, nursing, taking medication, or have a medical condition, consult your physician before following any recommendations or using any product on our site. You assume sole responsibility for your personal health, and you must use your own discretion under doctor consultation to determine whether any product or recommendation on this site is suitable for your personal situation.


